 Sarasota Roofing
 Why Siding in The Meadows Takes a Beating
The Meadows sits inland from the coast, but "inland" in Sarasota County doesn't mean sheltered. The mature tree canopy that makes the neighborhood attractive also means more windblown debris during storms, more shade-to-sun cycling on siding surfaces, and more standing humidity trapped against exterior walls by landscaping that grows close to the house. Add in the same forces every home in this part of Florida deals with — hurricane-force winds, intense year-round UV, wind-driven rain, and salt air carried inland on the breeze off Sarasota Bay and the Gulf — and siding here ages faster than the manufacturer's glossy brochure photo suggests.
Most of what we get called out for in The Meadows isn't dramatic storm damage. It's the slow stuff: a seam that opened up two summers ago and has been letting water behind the panel ever since, a cracked corner from a fallen branch nobody thought twice about, or paint that's chalking and peeling because the substrate underneath is starting to break down. By the time it's visible from the street, the damage underneath is usually further along than it looks.
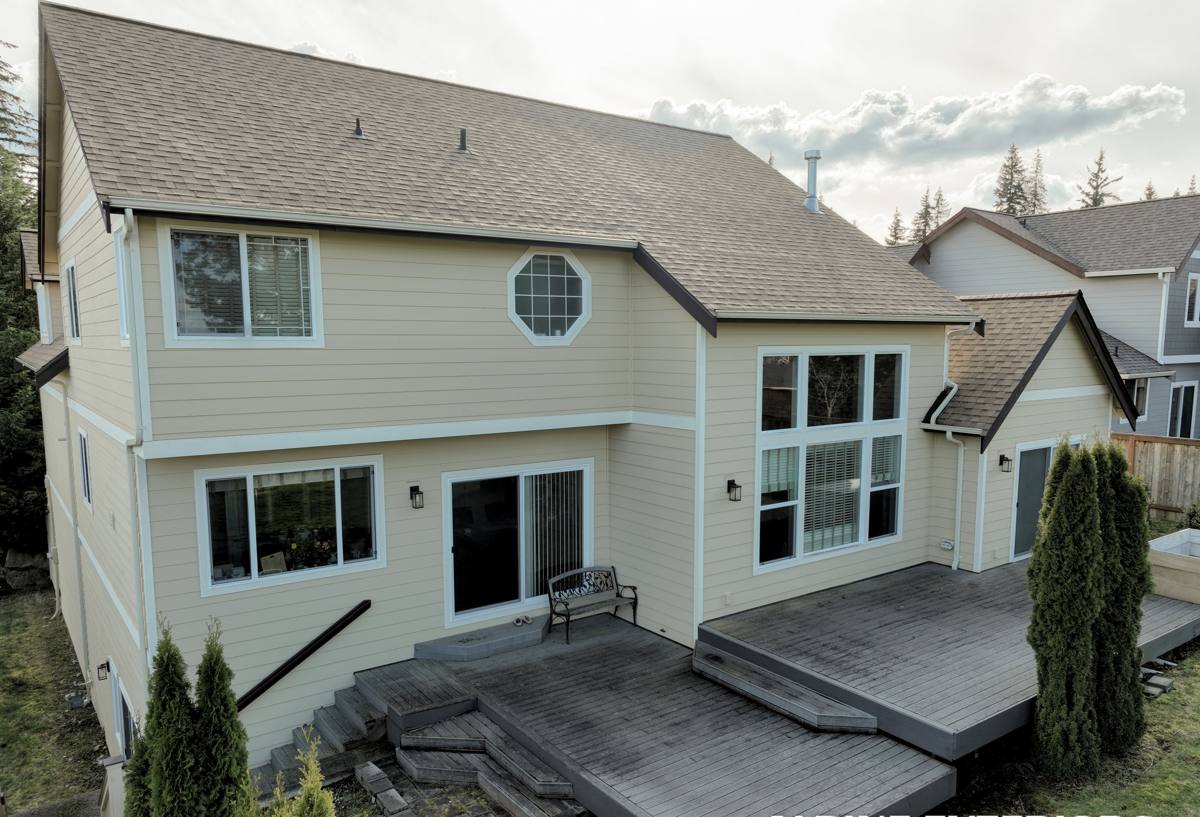
What Local Homes Actually Need From a Siding Repair
A siding repair in this climate has to do more than patch a hole. It has to hold up to the next decade of the same conditions that caused the original damage. That means:
- Moisture management that actually works — repairs that don't restore the drainage plane or house wrap behind the siding just trap water in a new spot.
- Material that won't rot if it gets wet again — Sarasota County humidity means every repair will eventually see moisture, whether from wind-driven rain, sprinkler overspray, or condensation.
- A finish that resists UV fade — a patch that doesn't match the surrounding panels' color within a year or two looks worse than the damage did.
- Fastening and flashing detail that accounts for wind uplift — a repair that isn't sealed and fastened to current wind-load standards is just the next repair, waiting.
A lot of siding repair work we see from other companies — and some DIY patch jobs — skips one or more of these. The panel gets replaced, but the underlying wrap doesn't get resealed correctly, or the new piece is caulked in place instead of properly flashed. It looks fine for a season. Then the same spot fails again, usually worse.
Signs Your Siding Needs Repair — Not Just Paint
Homeowners in The Meadows often reach for a paint touch-up when the real problem is underneath. Here's how to tell the difference:
| What You See | Likely Cause | Paint Fixes It? |
|---|---|---|
| Chalky, fading color | UV breakdown of the finish coat | Sometimes, if substrate is sound |
| Soft or spongy panel when pressed | Moisture intrusion, substrate breaking down | No — repair required |
| Visible seam gaps or buckling | Improper original installation or wind stress | No — repair required |
| Dark streaking near seams or corners | Water tracking behind the panel | No — often needs opening the wall to check for rot |
| Cracked or chipped corner/end | Impact damage from debris or lawn equipment | No — panel or section replacement |
| Small hairline nail-pop cracks | Fastener movement, normal settling | Minor repair, low risk |
If you're not sure which category your issue falls into, that's exactly what a free inspection is for — we'd rather look and tell you it's cosmetic than have you pay for a repair you didn't need, or worse, patch over something structural.
When Repair Isn't the Right Call
Sometimes what looks like a repair job is actually a sign the whole elevation, or the whole house, is due. If moisture has tracked behind more than one or two panels, if the damage traces back to a systemic install issue (missing flashing, wrong fastener pattern, no rainscreen gap), or if the existing siding is a material with known long-term weaknesses, patching one section just delays a bigger job and spends money that would have gone toward it. We'll tell you honestly if that's what we're looking at rather than sell you a repair that's really a stopgap.
What a Correct Repair Job Involves
1. Diagnosis Before Demo
Before anything comes off the wall, we check how far the damage actually extends — not just the visible panel, but the house wrap, the flashing at windows and corners, and the framing behind it if there's any sign of prolonged moisture. Cutting into a wall without knowing what's back there is how small repairs turn into surprise change orders.
2. Matching Material and Finish
A repair that doesn't match in profile, reveal, and color reads as an obvious patch from the street. We match panel profile and, where the original siding is James Hardie with a ColorPlus factory finish, we can match colors precisely because that finish is manufactured to a documented formulation — not mixed on-site and guessed at.
3. Restoring the Water Management System
This is the step that gets skipped most often elsewhere. The house wrap or weather-resistant barrier behind the siding has to be repaired and properly lapped, flashing at any penetrations has to be correct, and there needs to be a way for incidental moisture to drain and dry out rather than sit against the wall. Skipping this is the single biggest reason repairs fail again within a few years in our climate.
4. Fastening and Sealing to Spec
Every fastener, gap, and sealant joint is done to manufacturer installation requirements — not just "close enough." In a county that sees regular tropical storm activity, wind uplift resistance depends on this being done correctly the first time.
Our Process for The Meadows Homeowners
- Free on-site inspection. We look at the visible damage and check for signs it extends further than what's showing.
- Honest scope and estimate. You get a clear breakdown of what needs repair, what's cosmetic, and what we recommend versus what's optional.
- Material matching. We source matching panels and finish — or discuss options if an exact match isn't available for an older installation.
- Repair with full water-management detail. Not just a panel swap — the barrier and flashing behind it get restored properly.
- Final walkthrough. We show you the completed work and explain what was done before we consider the job finished.
Why We Only Work With James Hardie Fiber Cement
When a repair calls for new material — whether it's a few panels or a full elevation — we install James Hardie fiber cement, and that's the only siding brand we put on homes. We don't install vinyl, LP SmartSide, Cemplank, Allura, or primed wood siding, and we're upfront about why.
Vinyl softens and can warp under sustained direct sun, which matters on west- and south-facing walls that catch full Florida exposure most of the day. Engineered wood products carry a real risk of moisture-related swelling at cut edges and seams if the install or maintenance isn't perfect — a risk that compounds in a humid coastal county where every seam eventually sees water. Other fiber cement brands aren't necessarily lower quality across the board, but James Hardie's HZ5 product line is engineered specifically for high-humidity, hurricane-exposed climates like ours, backed by a strong transferable limited warranty, and the ColorPlus finish is baked on at the factory rather than field-painted — which is exactly what makes color-matching a repair section to existing siding reliable years later.
For a repair, that consistency matters even more than it does on a full install, because the whole point is that the patched section shouldn't stand out.
Repair vs. Replace: What Actually Drives the Decision
| Factor | Favors Repair | Favors Full Replacement |
|---|---|---|
| Extent of damage | Isolated to one or two areas | Spread across multiple elevations |
| Age of existing siding | Under 10-15 years, sound elsewhere | Near or past expected service life |
| Underlying moisture history | No prior water intrusion found | Recurring rot or mold behind panels |
| Material match availability | Profile and finish can be matched | Discontinued profile, poor match |
| Original install quality | Correct flashing/wrap elsewhere | Systemic install errors throughout |
Why Hiring a Crew That Already Works The Meadows Matters
Siding repair isn't one-size-fits-all, even within Sarasota. Homes in The Meadows tend to have more tree cover and irrigation-driven moisture exposure than homes closer to open water, which changes where we expect to find hidden damage and how aggressive we are about checking the wrap behind a patch. A crew that's worked the neighborhood knows which HOA and permitting steps typically apply, has a feel for the common siding ages and original installers in the area, and isn't learning the neighborhood's quirks on your dime.
It also means faster turnaround. Being local to Sarasota County means we're not scheduling a repair crew across a multi-county service area — we can get someone out to look at storm or moisture damage quickly, which matters when water is actively getting behind a panel.
Quick Homeowner Checklist
- Press gently on any discolored or stained siding — if it flexes or feels soft, don't wait to have it looked at.
- Check corners and areas near downspouts or sprinkler heads first — these see the most repeated moisture exposure.
- After any named storm or high-wind event, do a visual walk of all four elevations, not just the side facing the street.
- Keep landscaping and irrigation heads from spraying directly onto siding.
- Get anything that looks like more than surface wear inspected before repainting over it.
- Ask any contractor what they're doing to the water barrier behind the panel, not just the panel itself.
Get an Honest Look Before You Decide
If you're seeing damage, staining, or aging siding on a home in The Meadows, the smartest first step is a free, no-pressure inspection. We'll tell you plainly whether you're looking at a straightforward repair, a larger issue worth addressing now, or something you can reasonably wait on — and give you a clear estimate either way. Reach out through the form below to get started.