 Sarasota Roofing
 Why This Matters More in Sarasota
If you own a home in Sarasota County, storm damage isn't a hypothetical — it's a recurring part of owning property on the Gulf Coast. Between hurricane-force wind events, the wind-driven rain that comes with even a moderate tropical system, and the slow grind of year-round UV and salt air on roofing materials, a Sarasota roof works harder than a roof almost anywhere else in the country. What you do in the first 24-48 hours after a wind or storm event has a real effect on whether a repair stays small or turns into a much bigger problem.
This guide walks through what to check, what to document, what's safe to do yourself, and when to call a professional. It's written for homeowners who just experienced wind gusts, a squall line, or a tropical system and want a clear-headed plan rather than panic.
Step One: Safety Before Inspection
Before you look at anything on the roof itself, walk the property from the ground.
- Stay off the roof if there's any standing water, visible structural sag, or if you can see daylight through the decking from inside the attic — that's a sign of a hole, not just missing shingles.
- Watch for downed or sagging power lines anywhere near the house, gutters, or trees. Treat any line on the ground or touching the structure as live.
- Check for loose or hanging debris — broken tree limbs caught in the roofline, dislodged ridge caps, or flashing that's peeled back — before walking near the perimeter of the house.
- If you smell gas, see exposed wiring, or notice water actively coming through a light fixture or ceiling, that takes priority over any roof concern.
Once the immediate area is safe, you can move on to inspection — but that inspection should happen from the ground or from a ladder at eyeline, not by walking the roof deck yourself.
What to Look For From the Ground
Visible Roof Signs
Binoculars help here. Look for shingles that are missing, curled up at the edges, or visibly out of alignment with the surrounding field. Look at the ridge line for lifted or missing cap shingles, and check valleys and eaves for anything that looks disturbed. On metal roofs, look for panels that have lifted at a seam or fasteners that have backed out.
Gutters and Downspouts
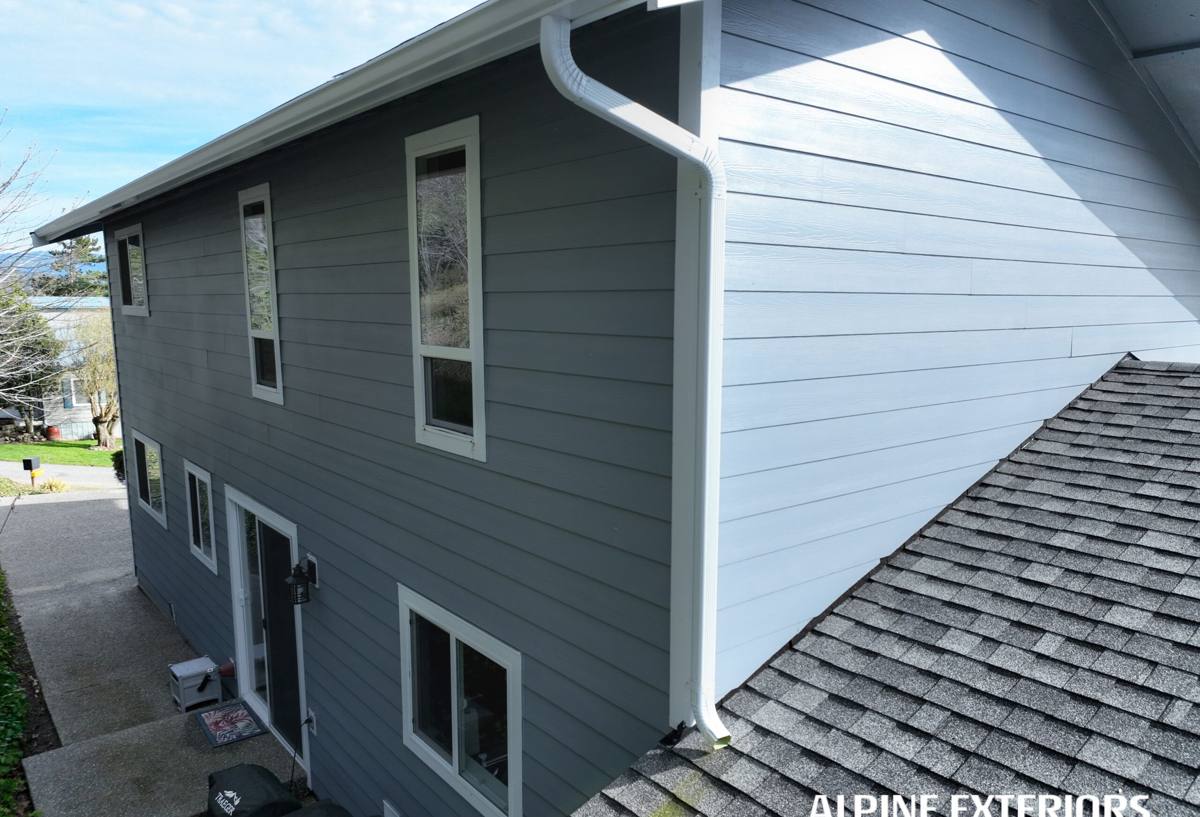
Bent, pulled-away, or fully detached gutters are common after high wind and are often the first visible clue that the roofline took a hit. Granule buildup in the gutters or at downspout outlets is a sign that shingles are shedding their protective surface faster than normal — worth noting even if nothing looks obviously broken.
Soffit, Fascia, and Vents
Wind gets under soffit panels and ridge vents more often than people expect. Look for panels that are flapping, gapped, or missing, and check that roof vents and turbines are still upright and attached.
Inside the House
Check the attic (if accessible) and the ceilings on the top floor for water stains, damp insulation, or a musty smell. Interior water intrusion doesn't always show up immediately after a storm — sometimes it takes a day or two of humidity and heat to bring a stain to the surface, so it's worth a second check the following day.
Documenting the Damage
Good documentation protects you whether you're filing an insurance claim or just getting accurate repair quotes. Do this before any tarping or cleanup changes what a contractor or adjuster would see.
- Take wide photos of each roof slope from the ground, plus close-ups (zoomed, not climbed) of any visible damage.
- Photograph gutters, downspouts, soffit, fascia, and any exterior siding or window damage — insurers often want the full picture, not just the roof.
- Photograph interior water stains with something for scale (a coin or ruler) and note the date first noticed.
- Keep any receipts for emergency tarping, plywood, or temporary repairs — these are typically reimbursable under most policies.
- Write down the date and approximate time of the storm event, since insurers may ask for this to match against weather records.
Temporary Protection: What's Reasonable to Do Yourself
Most insurance policies require you to take reasonable steps to prevent further damage — but "reasonable" means ground-level, low-risk actions, not climbing onto a wet or wind-damaged roof.
- Move furniture, electronics, and belongings away from active interior leaks and place buckets or containers to catch water.
- Cover broken windows or obviously breached areas from the inside if you can do so safely.
- If a tarp is needed on the roof itself, this is a job for a professional — improper tarping in windy conditions is a common cause of secondary injury, and a poorly secured tarp can cause more water intrusion than it prevents.
Do not attempt to remove tree limbs from the roof, walk a wet roof deck, or work at height in continuing wind. None of that damage gets worse by waiting a few hours for someone qualified to handle it.
Insurance: What to Know Before You Call
Florida homeowners' policies vary quite a bit on wind and hurricane coverage, including separate wind deductibles that are often a percentage of your dwelling coverage rather than a flat dollar amount. Before calling your insurer, have your policy number, the documentation described above, and a general sense of when the damage occurred. Ask specifically whether your policy has a separate hurricane or named-storm deductible, since that changes the math on whether filing a claim makes sense for a smaller repair.
An adjuster's inspection and a contractor's inspection serve different purposes. The adjuster is scoping the claim against your policy; a roofing contractor is scoping the actual repair needed to restore the roof correctly. It's reasonable to have your own contractor's assessment in hand before or during the adjuster process, particularly if the damage is spread across multiple areas of the roof.
When It's a Repair vs. When It's Time to Reassess the Whole Roof
Not every storm event calls for a full roof replacement, and not every roof should just get a patch. A few factors determine which side of that line a given situation falls on.
| Factor | Leans Toward Repair | Leans Toward Full Assessment |
|---|---|---|
| Extent of damage | Isolated to one slope or a small section | Spread across multiple slopes or the whole roof |
| Roof age | Roof is under 10-12 years old | Roof is past or near the end of its expected service life |
| Underlying condition | Decking and underlayment intact, granule loss minimal | Soft decking, widespread granule loss, prior storm history |
| Damage type | Missing shingles, minor flashing lift | Structural sag, multiple penetrations, water intrusion in several rooms |
A straightforward wind event on a newer roof is usually a contained repair. A roof that's already had a few storm seasons behind it, or one that shows soft spots or granule loss beyond what's expected for its age, deserves a fuller inspection rather than a spot patch — patching a roof that's already near the end of its service life often just delays a bigger expense without fixing the underlying issue.
What a Post-Storm Roof Inspection Should Actually Cover
A thorough inspection after a wind event goes beyond a glance at the shingles. It should include the roof field, ridge and hip lines, all flashing points (chimneys, skylights, wall-roof transitions), valleys, gutters and drip edge, soffit and fascia, attic ventilation components, and — where accessible — a look at the attic itself for daylight, moisture, or insulation displacement. Any competent inspection should also note the general condition of the roofing material itself, since storm damage often reveals wear that was already present but not yet obvious.
Reducing Storm Vulnerability Going Forward
Once repairs are handled, a few things reduce how much damage the next event causes:
- Trim back tree limbs that overhang or are close to the roofline — falling and rubbing limbs are a leading cause of both storm damage and slow wear between storms.
- Keep gutters clear so wind-driven rain has somewhere to go instead of backing up under the roof edge.
- Have fastener and flashing points checked periodically, since salt air accelerates corrosion on exposed metal fasteners faster than in drier inland climates.
- Ask about the wind rating of your current roofing material and installation method if you're due for a replacement — install specifications matter as much as the material choice itself for wind performance.
A Practical First 48 Hours Checklist
- Check the property from the ground for downed lines, debris, and obvious hazards before doing anything else.
- Scan the roof and gutters from the ground or ladder eyeline — do not walk the roof yourself.
- Check the attic and top-floor ceilings for moisture, and recheck the next day since some leaks show up late.
- Photograph everything before cleanup or temporary repairs.
- Handle only ground-level, low-risk mitigation yourself; leave roof-level tarping to a professional.
- Gather your policy details and documentation before calling your insurer.
- Get an independent roofing inspection so you have a clear, unbiased picture of what's actually needed.
If you've had a recent wind or storm event and want a second set of eyes on your roof, we're glad to come take a look. A free, no-pressure estimate gives you a clear picture of what's actually going on up there and what your options are — just fill out the form below to get started.